Here is the procedure which generates it:
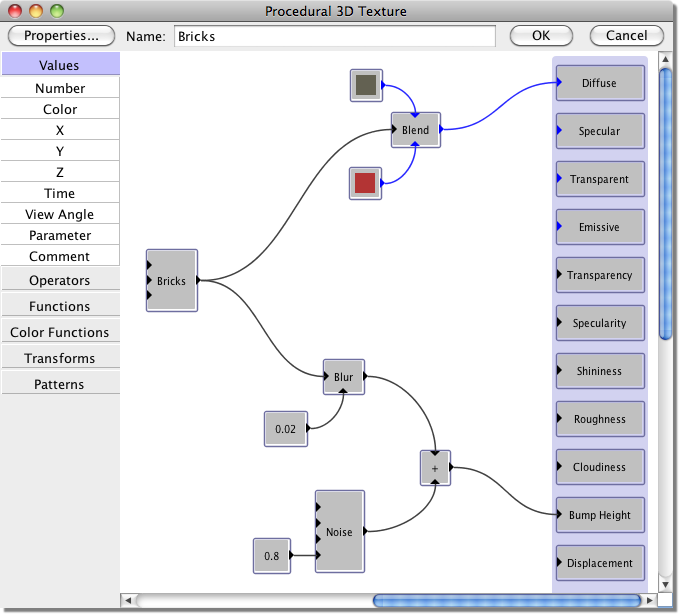
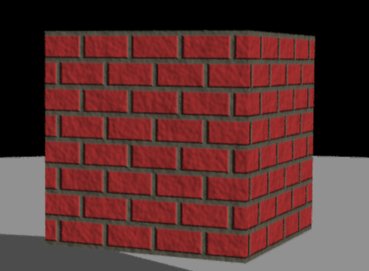
This is a fairly simple texture. The output of the Bricks module is sent through the Blend module, and used to select between two different colors: red for the bricks, and gray for the mortar. We also use the same Bricks pattern as a bump map, so the bricks will appear raised above the mortar. Notice the use of a Blur module to slightly bevel the edges of the bricks. This makes the bump mapping slightly more noticeable.
We could have left it at that, but the bricks wouldn't look very realistic. Everything would be too smooth and perfect. We therefore add the output of a Noise module to the bump map. This adds roughness to the bricks and mortar and makes the texture look much more realistic.
Here is the procedure:
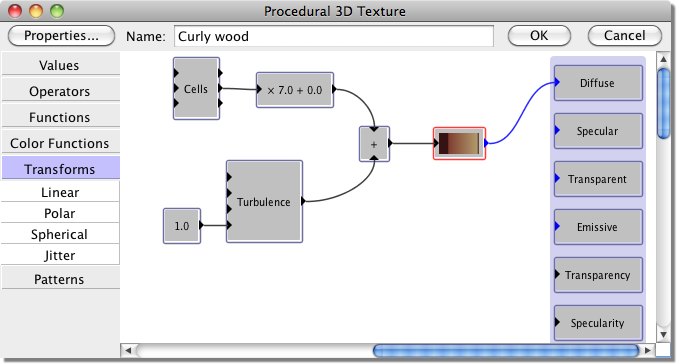
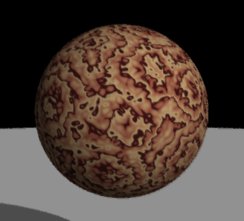
This uses the Distance 1 output of a Cells module to select a color from a custom color function. This creates a "knotted wood" effect - concentric circles about lots of centers. Of course, this by itself doesn't look much like wood. The circles are perfectly even and symmetrical. We therefore add a turbulence function to disrupt the rings. The appearance of the pattern can be greatly changed by altering the amplitude of the turbulence function, or the number of octaves of noise.
Here is the procedure:
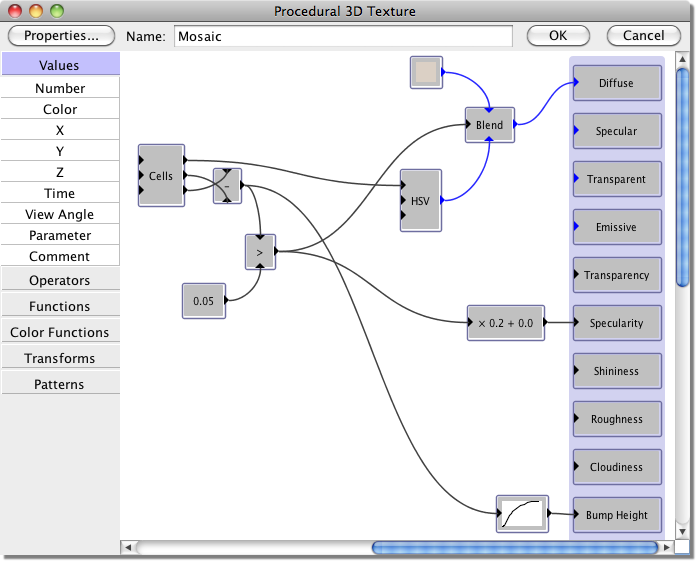
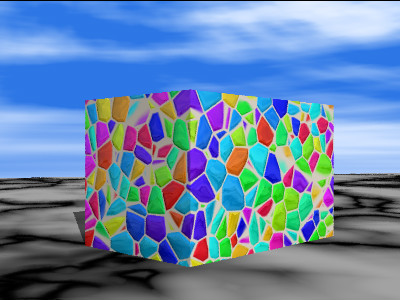
This procedure takes a little more work to understand. It is based around a Cells module. We begin by using a Subtract module to calculate D=(Distance 2)-(Distance 1). This is a function which is equal to 0 at the edges of the cells (in the middle of the gaps between the stones), and increases toward the center of each cell. A Greater Than module is used to compare D to 0.05. It outputs 1 inside the stones, and 0 in the gaps.
The Blend module is used to choose the diffuse color: grey for the mortar, or a variety of bright colors (generated by the HSV module) for the stones. Similarly, a Scale/Shift module is used to calculate the specularity: 0 for the mortar (which should appear dull), and 0.2 for the stones (so that they appear shiny).
Finally, we use a custom function of D as a bump map. The function is flat for values less than 0.05 (so that the mortar is flat), then increases sharply before leveling off. This creates the effect of smoothly rounded stones set into the mortar.
Incidentally, the ground and sky in this image are also generated by procedural textures. They use Marble and Noise modules, respectively, to select colors from colormaps.